One of the most common questions homeowners and contractors ask about HPL sheets is — how exactly are they installed? Is it a complicated process? Does it require breaking down existing walls? How long does it take?
These are completely valid questions, and the answers will likely surprise you — because installing HPL sheets is considerably simpler, cleaner, and faster than most people expect. This step-by-step guide walks you through the entire process so you know exactly what to expect before, during, and after installation.
Before Installation Begins — Site Assessment
Every good HPL installation starts with a thorough site assessment. Before any material is ordered or framework is put up, a professional installation team will visit your property to assess the condition of existing walls, measure all elevations accurately, identify any structural issues that need to be addressed beforehand and plan the layout of sheets to minimize wastage and maximize visual impact.
This assessment typically takes a few hours and is essential for accurate material estimation and design planning. At HPL Maker, this consultation is provided as part of the service — with no hidden charges.
Step 1 — Designing the Layout
Once measurements are confirmed, the installation team creates a detailed layout plan showing exactly how each HPL sheet will be positioned on the wall. This plan accounts for architectural features like windows, doors, and ledges, ensures that sheet joints are aligned aesthetically, and plans for expansion gaps that allow the material to handle thermal movement without stress.
The layout design is shared with the client for approval before any physical work begins. This transparency ensures there are no surprises during installation.
Step 2 — Installing the Aluminium Subframe
HPL sheets are not directly glued to the wall. They are mounted on a lightweight aluminium subframe — a grid of horizontal and vertical aluminium channels that are fixed to the wall using appropriate anchors. This subframe serves multiple purposes. It creates a perfectly flat, level surface for the sheets regardless of wall irregularities. It allows a small air gap between the wall and the HPL sheet, which improves thermal performance. It provides the structural support that keeps sheets firmly in place for decades.
The subframe installation is the most critical phase of the process. Done correctly, it ensures long-term performance. This is why choosing an experienced installation team matters enormously.
Step 3 — Cutting HPL Sheets to Size
HPL sheets are delivered in standard sizes and cut to the exact dimensions required on-site using specialized cutting tools. The cutting process is clean and precise — HPL cuts smoothly without splintering or cracking when handled correctly.
For complex areas around windows, corners, and architectural features, sheets are carefully measured and cut to create clean, tight-fitting joints. The quality of cutting work directly impacts the final visual appearance of the installation.
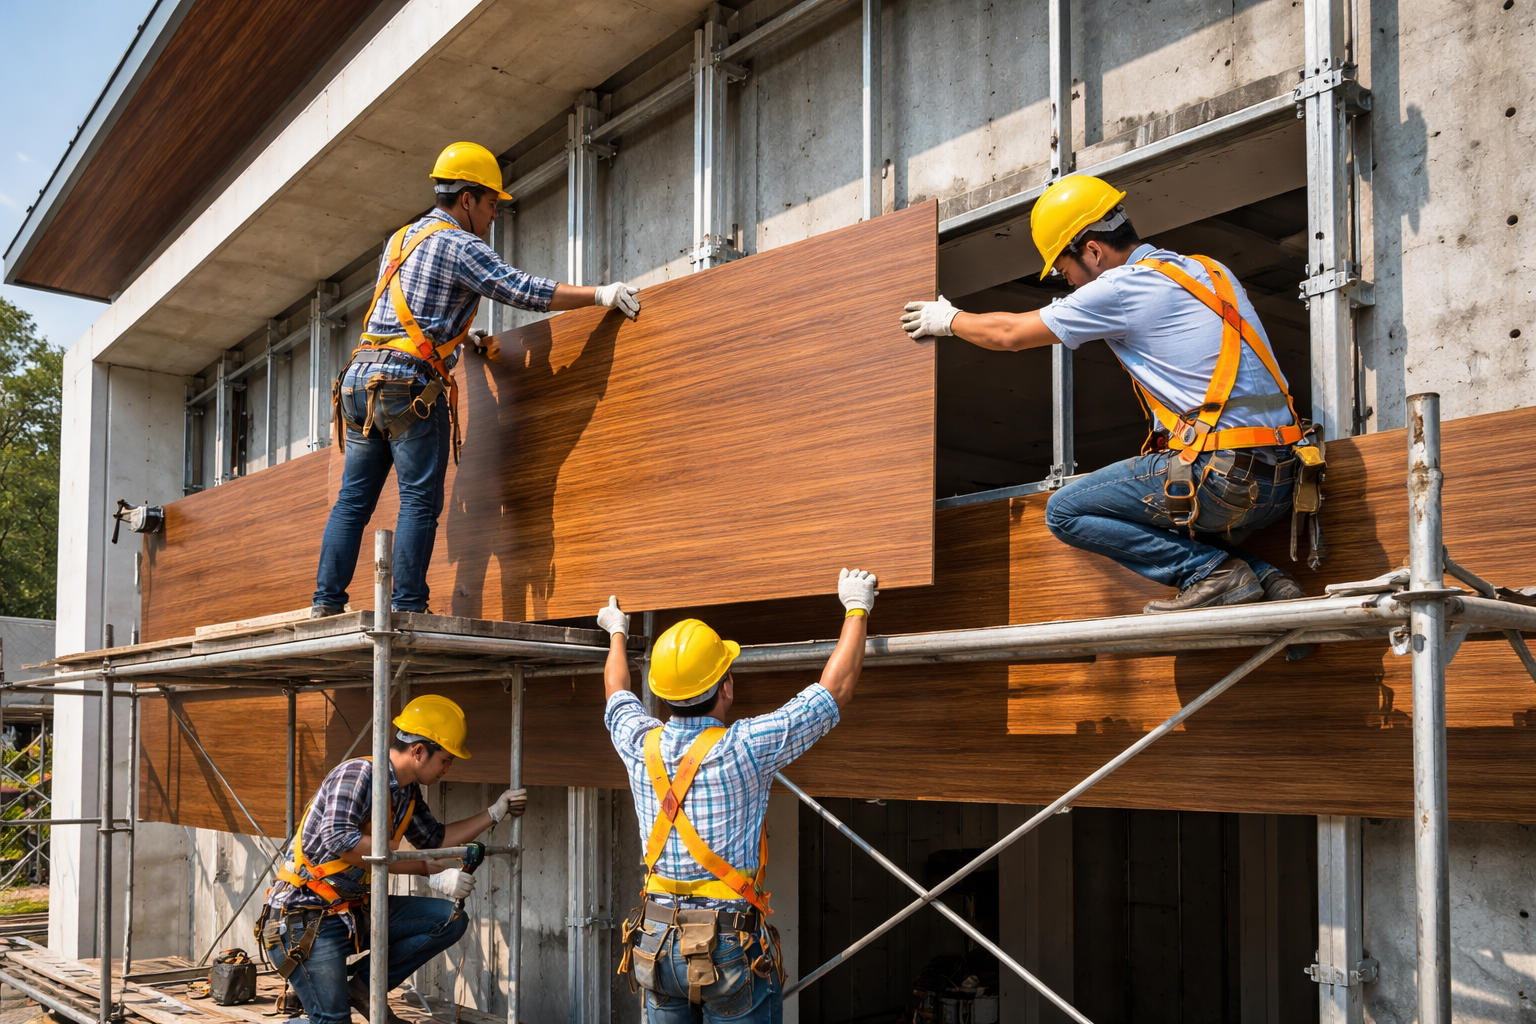
Step 4 — Fixing Sheets to the Subframe
Once cut, sheets are fixed to the aluminium subframe using either concealed clips or visible fasteners, depending on the design specification. Concealed fixing systems give a completely seamless appearance with no visible screws or bolts — this is the preferred method for premium residential installations.
Visible fastener systems use powder-coated screws that match the sheet color and are more economical. Both systems, when installed correctly, provide excellent long-term hold and weather resistance.
Step 5 — Sealing Joints and Edges
All joints between sheets and edges around openings are sealed using compatible silicone sealant. This prevents water from entering behind the cladding system and ensures a clean, finished appearance. The sealant used must be UV-stable and compatible with HPL material — using incorrect sealant is a common mistake made by inexperienced installers.
Step 6 — Final Inspection and Cleanup
Once all sheets are installed and sealed, the installation team conducts a thorough final inspection — checking every joint, every fastener, and every edge for quality and consistency. Any minor adjustments are made at this stage. The site is then cleaned completely, leaving your property in perfect condition.
How Long Does Installation Take?
For a standard residential home elevation, a professional team typically completes installation within three to seven days, depending on the complexity and size of the project. Larger commercial projects may take longer, but the dry-cladding method ensures minimal disruption to building occupants throughout the process.
Why Professional Installation Matters
HPL sheets are a long-term investment. The product itself is engineered to last 25 years and beyond — but that performance is only guaranteed when installation is done correctly. Poor subframe alignment, incorrect fixings, inadequate sealing, or wrong sheet orientation can all compromise the system’s performance over time.
HPL Maker’s installation teams are trained specifically for HPL cladding systems and follow a documented installation protocol on every project. This is one of the reasons HPL Maker can confidently offer a 25-year warranty — because the installation quality matches the product quality.